react课程15-使用Tailwind设计项目界面

Last updated on September 18, 2024 pm

本次课程学习Tailwind,并使用它来设计fast pizza的界面🫡。

https://tailwindcss.com/docs/installation(官网)

https://tailwind.org.cn/docs/installation(中文网址)

按照步骤去使用
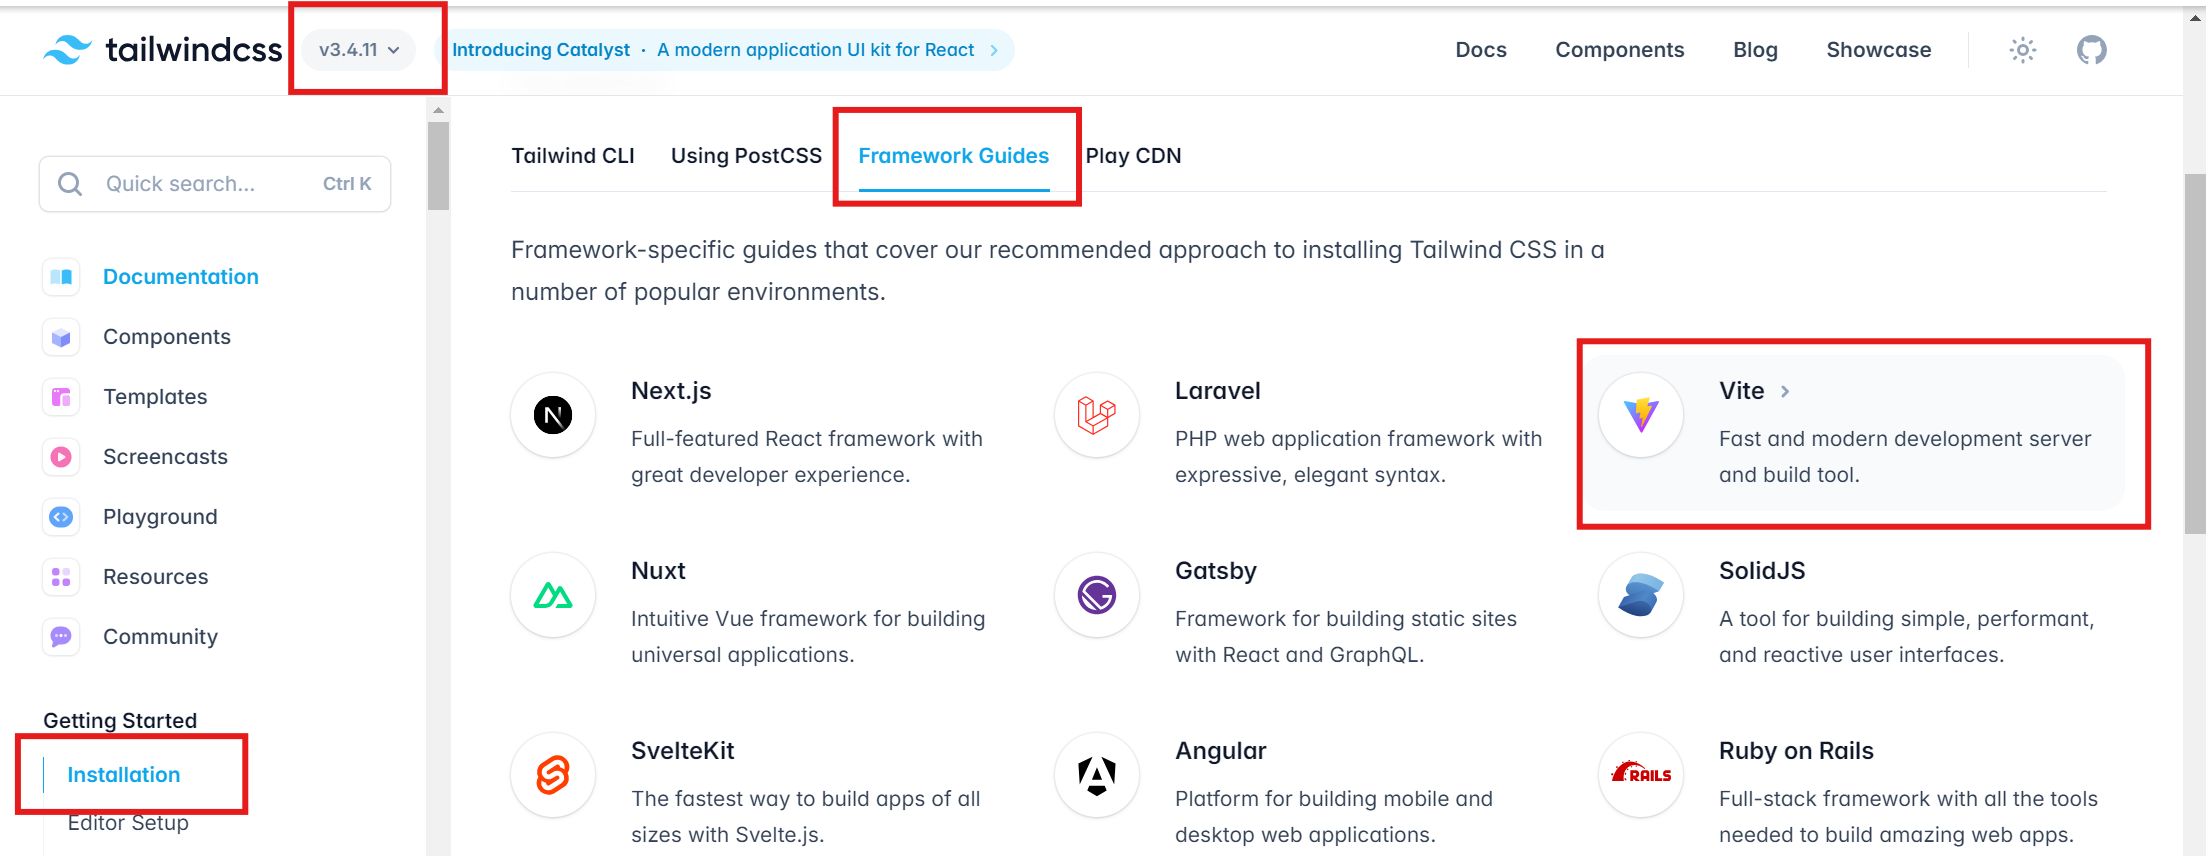
image-20240913103504395

但是在css文件中会报错:Unknown at rule @tailwindcss(unknownAtRules)

解决方法是打开setting.json文件,在里面添加:

1
2
3
4
5
"files.associations": {

"*.css": "tailwindcss"

},

(思考了一个小时的问题😇,世界上还是聪明的人多哈)

⭕安装Tailwind CSS拓展

https://github.com/tailwindlabs/prettier-plugin-tailwindcss?tab=readme-ov-file

安装prettier-plugin-tailwindcss插件:

npm install -D prettier prettier-plugin-tailwindcss

然后进行配置,新建prettier.config.cjs文件,在里面配置:

1
2
3
4
module.exports = {
plugins: ["prettier-plugin-tailwindcss"],
// singleQuote: true,
};

这样可以自动排序类名

(我怎么配置了两个小时……我真的流泪了。。。。)

🆒https://css-tricks.com/emoji-as-a-favicon/

一、学习初步使用

(1)color

在tailwind的官网中搜索text color、background color查找具体配置说明

index.html中也可以进行配置,来设置全局style

(2)Text

font size(大小)、font weight(加粗)、uppercase(大写)、letter spacing(间距)

(3)space

margin(外边距)、padding(内边距)、border(边框)

space:主要用于 Tailwind CSS 中,用于设置多个子元素之间的间距,不改变第一个和最后一个子元素的外边距。例如,space-x-4 会在每个子元素之间增加 4 的水平间距,但不会影响最外层的左右间距。

display:

  • **block**:用来定义内容需要占满一整行的元素(如段落、容器等)。
  • **inline**:适合内容较短、需要与其他元素同一行显示的情况(如文字、链接等)。
  • **inline-block**:用于需要水平排列的元素,并且每个元素有独立的宽高控制(如导航栏中的按钮)。
  • **flex**:用来创建灵活的、响应式的布局,子元素可以自动调整排列。
  • **grid**:适合构建复杂的、结构化的页面布局,子元素可以按照网格规则自动排布。
  • **none**:用于隐藏不需要显示的元素。

(4)断点

breakpoints(断点)用于实现响应式设计。断点定义了在不同的屏幕宽度范围内,如何应用不同的样式规则。这使得可以根据设备的屏幕大小调整页面布局和样式,以提供更好的用户体验。

  • sm: 小屏幕(手机,最小宽度 640px)
  • md: 中等屏幕(平板,最小宽度 768px)
  • lg: 大屏幕(桌面,最小宽度 1024px)
  • xl: 超大屏幕(大桌面,最小宽度 1280px)
  • 2xl: 超超大屏幕(超大桌面,最小宽度 1536px)

eg:

1
2
<!-- 默认字体大小,当屏幕宽度达到或超过 768px 时字体变大 -->
<p class="text-base md:text-lg">响应式字体大小</p>

如果 Tailwind 的默认断点不符合你的需求,可以在 tailwind.config.js 文件中进行自定义配置。例如:

1
2
3
4
5
6
7
8
// 添加一个新的断点 3xl,用于在屏幕宽度达到或超过 1600px 时应用样式。
module.exports = {
theme: {
extend: {
screens: {
'3xl': '1600px',
}, }, },}

(5)Flexbox

items-center : 用于在 Flexbox 容器的交叉轴(垂直轴)上将所有子元素居中对齐。

justify-between :用于在 Flexbox 容器的主轴(水平轴)上,将所有子元素之间的空间均匀分配。

(6)Grid

grid h-screen grid-rows-[auto_1fr_auto]

(7)Form element

className="w-28 rounded-full bg-yellow-100 px-4 py-2 text-sm transition-all duration-300 placeholder:text-stone-400 focus:outline-none focus:ring focus:ring-yellow-600 focus:ring-opacity-50 sm:w-64 sm:focus:w-72"

(8)重用

1、在css中编写类名

此时在className=“input”就可以运用这个类名

1
2
3
4
5
@layer components {
.input {
@apply w-full rounded-full border border-stone-200 px-4 py-2 text-sm placeholder:text-stone-400 focus:outline-none focus:ring focus:ring-yellow-300 md:px-6 md:py-3;
}
}
2、在React中新建组件

eg:这里创建了一个既可以被当作button又可以被当作Link的可重用组件

1
2
3
4
5
6
7
8
9
10
11
12
13
14
15
16
17
18
19
20
21
22
import { Link, useNavigate } from 'react-router-dom';

function LinkButton({ children, to }) {
const navigate = useNavigate();
const className = 'text-sm text-blue-300 hover:text-blue-600 hover:underline';

if (to === '-1')
return (
<button onClick={() => navigate(-1)} className={className}>
&larr; Go back
</button>
);

return (
<Link to={to} className={className}>
{children}
</Link>
);
}

export default LinkButton;

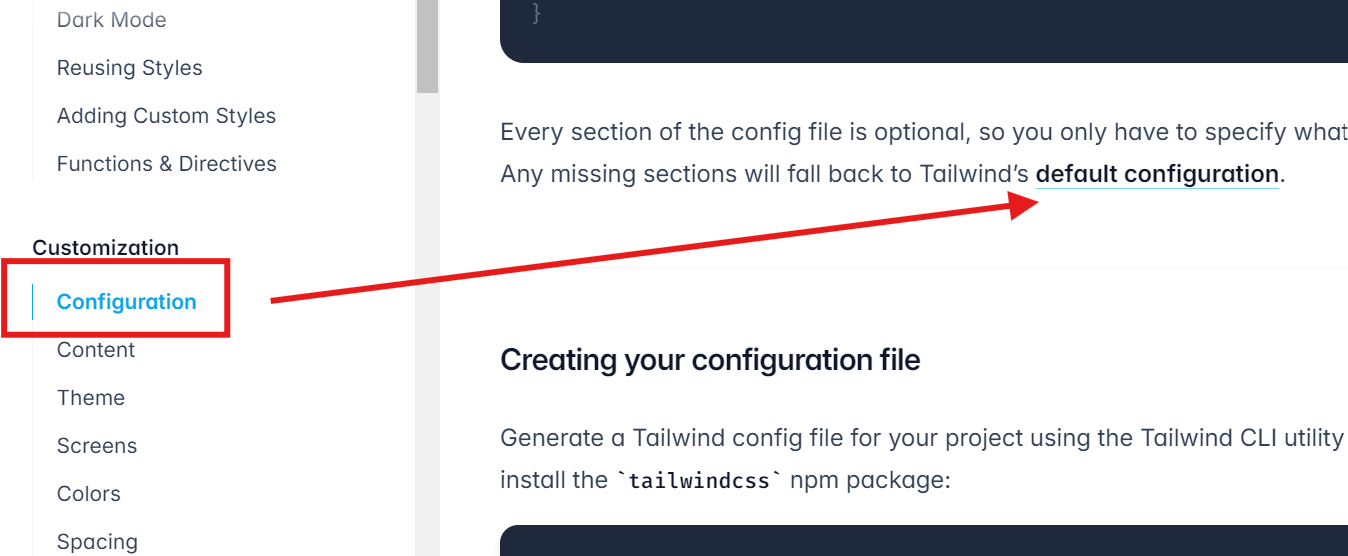
(9)配置

可以查看默认配置

image-20240918155917608

修改默认配置:在tailwind.config.js中:

(按照默认配置文件的格式)

1
2
3
4
5
6
7
8
9
10
11
12
/** @type {import('tailwindcss').Config} */
//eslint-disable-next-line
export default {
content: ['./index.html', './src/**/*.{js,ts,jsx,tsx}'],
theme: {
fontFamily: {
sans: 'Roboto Mono, monospace',
},
extend: {},
},
plugins: [],
};

(10)type

Button组件:

接收type props,并使用styles来应用不同类名

1
2
3
4
5
6
7
8
9
10
11
12
13
14
15
16
17
18
19
20
21
22
23
24
25
26
import { Link } from 'react-router-dom';

function Button({ children, disabled, to, type }) {
const base =
'inline-block rounded-full bg-yellow-500 uppercase tracking-wide text-stone-800 transition-colors duration-300 hover:bg-yellow-300 focus:bg-yellow-300 focus:outline-none focus:ring focus:ring-yellow-300 focus:ring-offset-2 disabled:cursor-not-allowed';

const styles = {
primary: base + ' px-4 py-3 md:px-6 md:py-4',
small: base + ' px-4 py-2 md:px-5 md:py-2.5 text-xs',
};

if (to)
return (
<Link className={styles[type]} to={to}>
{children}
</Link>
);

return (
<button disabled={disabled} className={styles[type]}>
{children}
</button>
);
}

export default Button;

react课程15-使用Tailwind设计项目界面
http://example.com/2024/09/13/react课程15-使用Tailwind设计项目界面/
Author
Yaodeer
Posted on
September 13, 2024
Licensed under